SVG + JS Interaction: Clickable, Draggable, Highlightable Vector Graphics
When you receive a requirement to build "interactive graphics"—like a server room topology map, a theater seating system, or a simple online poster editor—what is your first reaction?
For many, the initial instinct is: "Let's use Canvas," or simply drop in a massive third-party graphics library (like Fabric.js, Konva, etc.).
But in reality, if you just need to implement clicking, dragging, and highlighting of elements, native SVG paired with pure JavaScript is a remarkably sharp and efficient blade. No heavy dependencies, no complex rendering contexts, because SVG is fundamentally just the DOM.
Today, we're going to talk about how to hand-code an interactive SVG engine from scratch. Don't panic; the logic is actually incredibly straightforward.
Breaking the Misconception: SVG is NOT an Image
We are too accustomed to using SVG as an image: <img src="logo.svg" />. If you do this, the SVG is dead. The browser treats it as an enclosed block of pixels; you can't access anything inside it, let alone bind a click event to a specific path.
To make SVG come alive, the first rule is: You must inline it into the HTML.
<div id="editor">
  <svg viewBox="0 0 800 600">
    <circle cx="100" cy="100" r="50" fill="red" />
    <path d="M..." fill="blue" />
  </svg>
</div>
Once you embed the code directly into the DOM tree, the magic happens. That <circle> and <path> are no different from standard <div> or <button> tags. You can grab them using document.querySelector('circle'), bind listeners with addEventListener, and even hover over them with CSS.
This is the sole foundation for all our interactivity.
Establishing an Identity System: Issuing "ID Cards" to Elements
Suppose you receive an incredibly complex SVG exported by a designer from Figma, with hundreds of intertwining paths. These elements likely have no id, and even if they do, they are infuriating names like Rectangle_12_copy.
If we are building an editor, how does your code know which element the user clicked?
Before throwing the SVG into the container for rendering, we need to write a simple traversal script to tag all truly visual tags (like path, rect, circle, ellipse, polygon, line) with a unique identifier, such as data-editor-id.
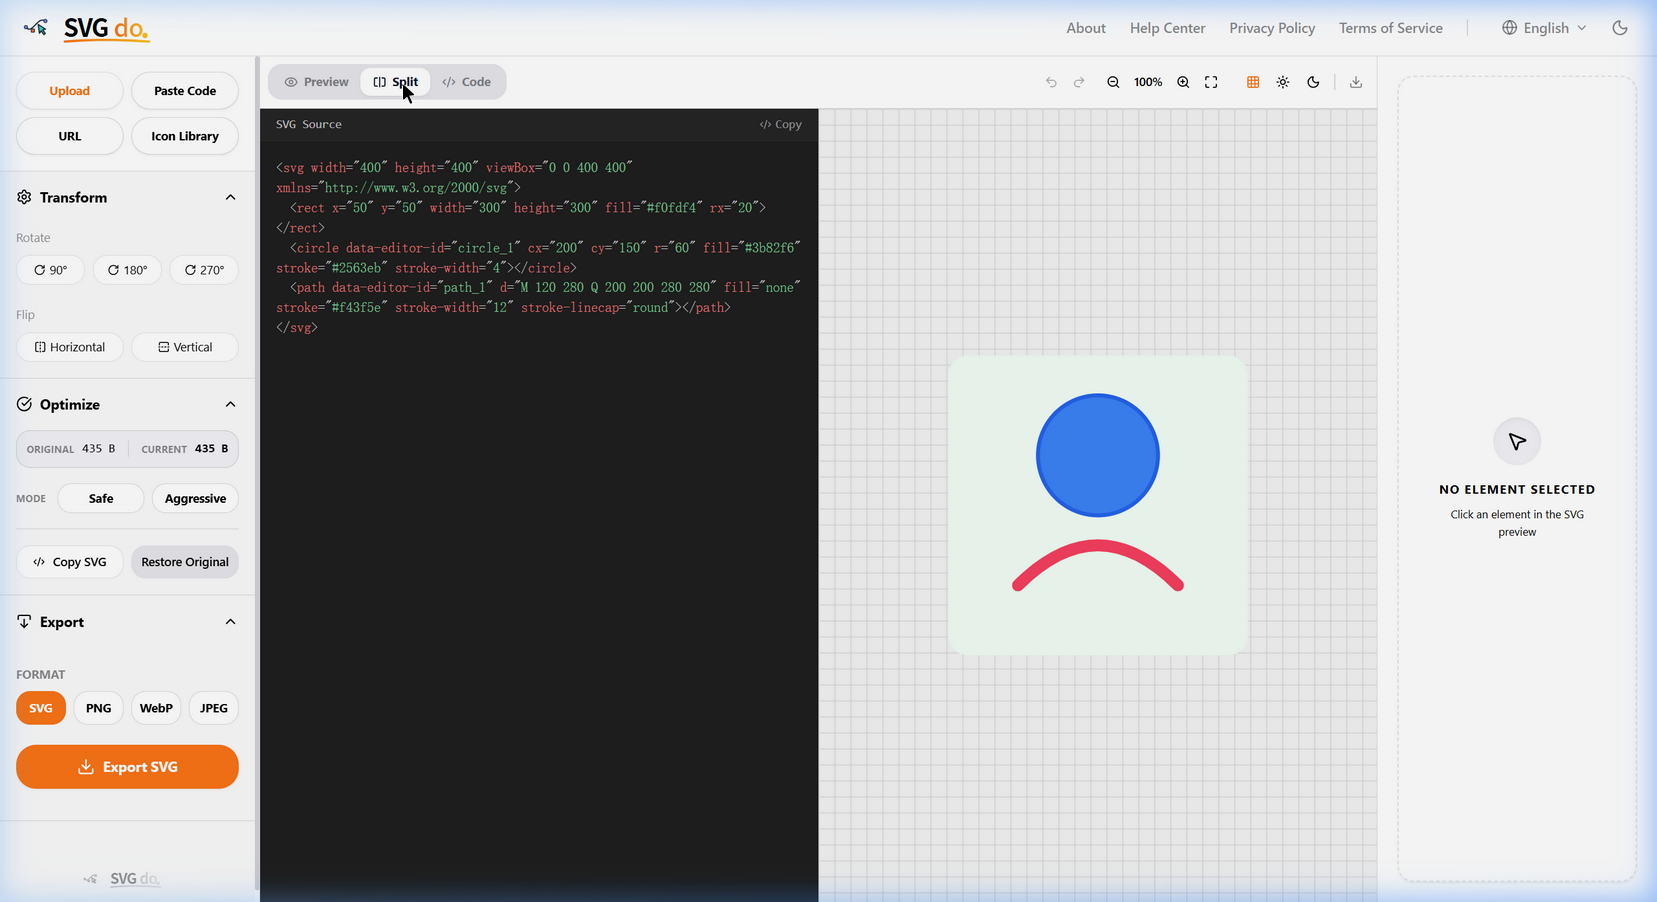
Pitfall Warning: Never touch the elements inside
<defs>,<clipPath>, or<mask>. These are SVG's rendering definition layers, not physical entities for the user to drag around on the canvas. Additionally, the<g>(Group) tag must be handled with care; many complex transformations (transform) are attached to groups, and when we drag, we often drag the entire group together.
Click Selection: Annoying Bubbling and Invisible Areas
Because SVG elements are DOM nodes, binding click events to them looks as simple as drinking water:
element.addEventListener('pointerdown', (e) => {
  console.log('I was selected!', e.target);
});
But in practice, you will immediately step into two traps.
The first trap is event bubbling.
When you click a path, the event fires on this <path> first, then bubbles up to its parent <g>, and finally reaches the outermost <svg>. Usually, we bind a click event to the <svg> to "deselect" (clicking empty space clears the selection). If you don't stop the bubbling (e.stopPropagation()), the moment the user clicks an element, the event bubbles to the top layer, instantly triggering deselection. You stare at the screen, feeling like your click vanished into thin air.
The second trap is "thin lines are impossible to click".
If there is an extremely thin line with stroke-width="1", the user must possess sniper-level mouse precision to click it. In SVG, there is an incredibly elegant solution: overlay a completely transparent (stroke="transparent") but very thick (e.g., stroke-width="20") "ghost path" specifically designed to catch mouse events.

The Core Law of Dragging: Coordinates Are King
Everyone knows the dragging logic by heart: pointerdown records the starting point, pointermove calculates the delta, and pointerup ends the action.
But in SVG, if you directly take the pixel delta of the mouse moving on the screen (Screen Coordinate) and forcefully apply it to the x and y attributes of an SVG element, you will find the element instantly flying out of the solar system.
Why? Because the screen coordinate system and the internal SVG coordinate system are two different beasts. SVG has its own viewBox, your webpage might be zoomed in, and the element itself might be nested inside several <g> groups with transform: scale(0.5).
The only correct answer is to use getScreenCTM().
This is a native method provided by SVG, standing for Current Transform Matrix. By retrieving the coordinate transformation matrix between the element and its parents, you can perfectly map the mouse's "screen movement" to the "internal SVG coordinate movement."
// Get the current element's transform matrix
const ctm = element.getScreenCTM();
// Convert screen delta to actual SVG coordinate delta
const svgDx = screenDx / ctm.a;
const svgDy = screenDy / ctm.d;
This is the core logic of the dragging engine we built for SVG do.. As long as the matrix calculation is correct, no matter how deeply nested or zoomed the canvas is, the element will stick to your mouse cursor flawlessly.
Elegant Implementation of Highlight States
When a user selects an element, you have to give some visual feedback, right?
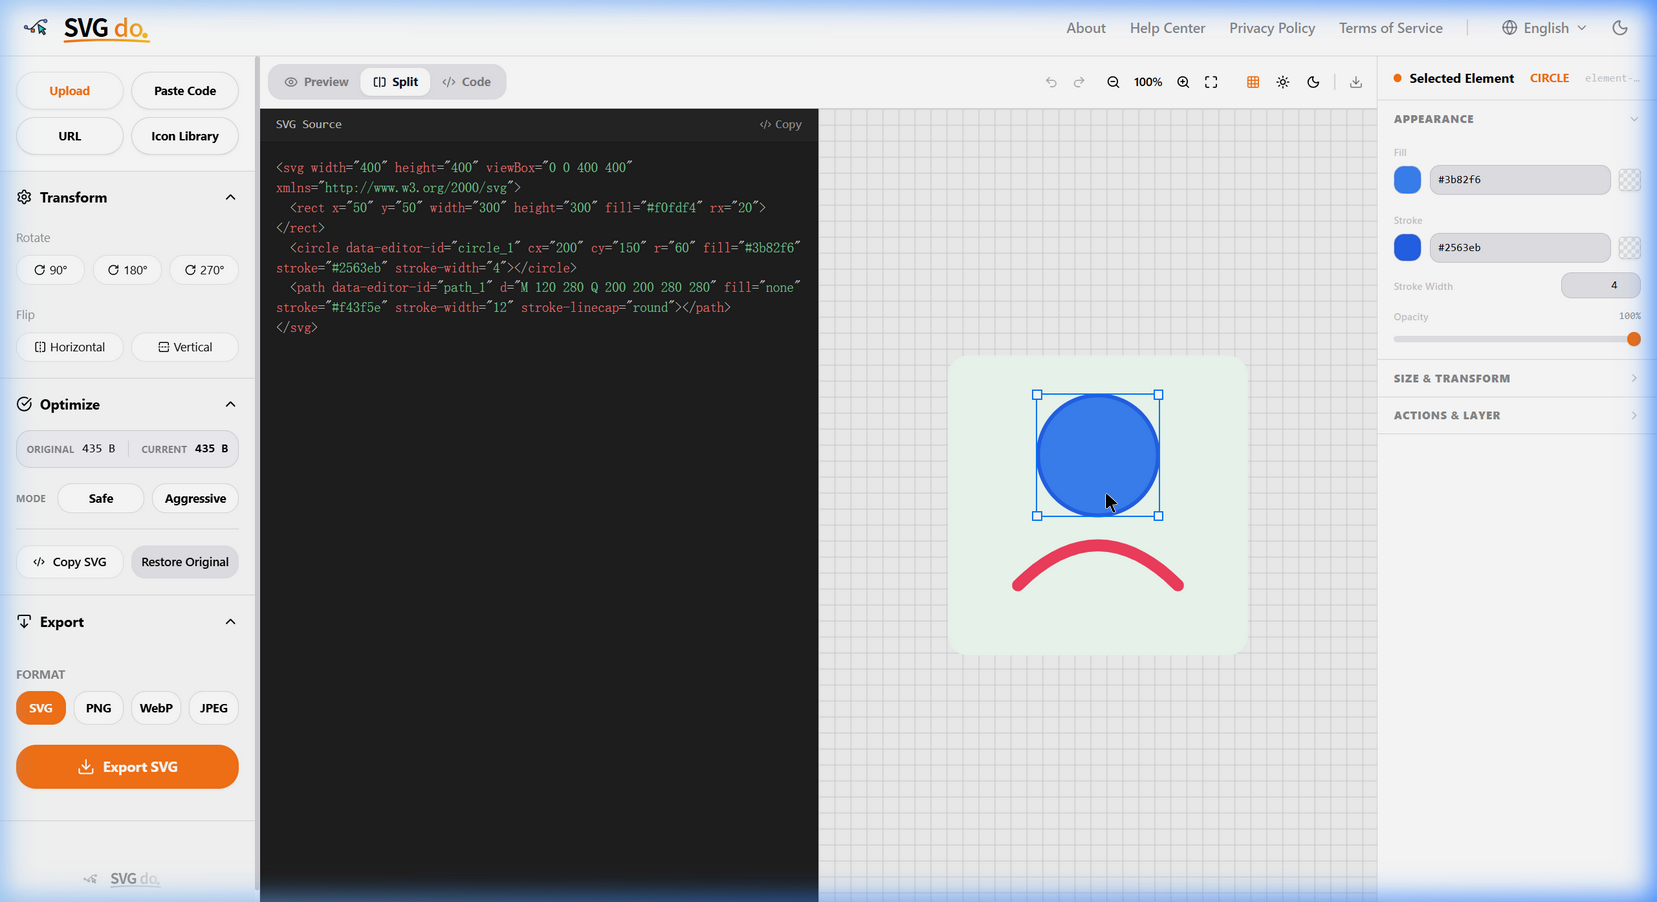
The most brutal approach is to directly change its stroke to bright blue. But this destroys the designer's original color, and you have to painstakingly remember the original color to restore it later.
A much more elegant approach is: Drawing a Bounding Box.
SVG provides an incredibly powerful API: getBoundingClientRect(). Once you select an element, dynamically generate a <rect> element with no fill and a bright blue stroke, overlaying it on top of the original element. You can even draw four small dots at the corners of this bounding box, creating the classic resize handles.
Conclusion
See? All these interactions never left the most foundational DOM APIs and mathematical matrices. Ditch those heavy third-party libraries, deeply understand SVG's underlying logic, and you can hand-code a mini Figma in the browser all by yourself. Go try it; you will absolutely marvel at the power of native web technologies.